

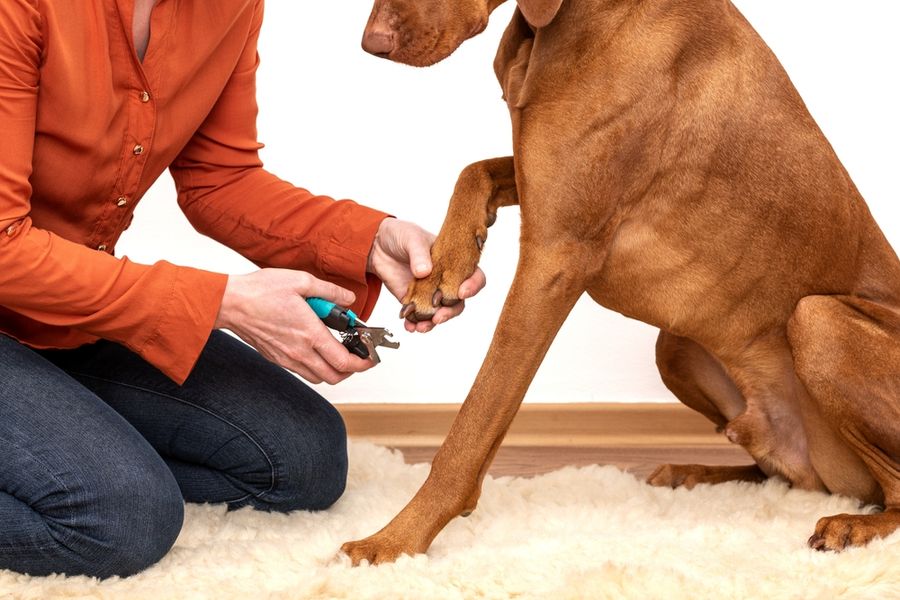
Cutting your dog's nails can feel like one of the most nerve-wracking parts of pet ownership. The squirming, the dramatic looks, and the fear of cutting too far can make even confident owners avoid the task entirely. But long nails can lead to pain, posture problems, and even injuries, so they really do need regular attention. Luckily, with the right tools, technique, and a little patience, at-home nail trims can become quick, calm, and even a bonding moment between you and your pup!
Why Regular Nail Trimming Matters
Many dog owners underestimate just how important nail care is. When nails get too long, they can change the way your dog walks, putting strain on their joints and even causing arthritis over time. Overgrown nails can also curl back into the paw pads, split, or snag on carpet and cause painful injuries. You'll often hear a clicking sound on hard floors when nails are too long.
You'll want to aim for trims every three to four weeks for most dogs, though some need them more often. According to the American Kennel Club, healthy nails should not touch the ground when your dog is standing. Active dogs who walk on pavement may naturally wear their nails down, while indoor or older dogs almost always need regular trims to keep them in good shape.
Choose the Right Tools for the Job
The tools you use make a huge difference in how smoothly nail trims go. The two main options are clippers and grinders. Scissor-style clippers work best for medium to large breeds, while smaller breeds often do better with mini guillotine-style clippers. Look for sharp, stainless steel blades and comfortable grips that fit your hand well.
You'll also want to consider a nail grinder, which gradually files down nails using a rotating sandpaper drum. Many dogs tolerate grinders better than clippers, especially if they've had bad experiences before. Keep styptic powder on hand as well, in case you accidentally cut too short. Brands like Kwik Stop are widely recommended by vets for stopping bleeding quickly.
Get Familiar With the Quick
Before you start trimming, take a moment to understand the anatomy of your dog's nail. Inside each nail is the "quick," a sensitive pink area filled with nerves and blood vessels. Cutting into the quick is painful and causes bleeding, which is usually what makes nail trims so stressful for both dogs and owners.
You'll find the quick easier to see in dogs with light-colored nails, while dark nails make it nearly invisible. For dark nails, look at the underside of the nail and trim small amounts at a time. The quick appears as a small, dark dot in the center once you get close to it.
Build Positive Associations First
If your dog hates nail trims, you can't expect to dive right into clipping all four paws. Start by handling your dog's paws gently every day, offering treats and praise. Touch the nails, squeeze the toes lightly, and pretend to clip without actually cutting. The goal is to make paw handling feel normal and even enjoyable.
You'll also want to introduce the clippers or grinder slowly. Let your dog sniff the tools, hear the grinder running from a distance, and earn treats just for being calm. Building positive associations can take days or weeks, but it pays off.
Find the Right Position and Lighting
Where and how you position your dog matters more than people realize. Small dogs are often easiest to trim while sitting in your lap or on a raised surface. Larger dogs may do best lying on their side or standing calmly while you work paw by paw. Some owners find it helpful to have a second person assist, especially for nervous pups.
You'll also want plenty of light. Trim in a well-lit room or use a small lamp pointed at the nails. Good lighting helps you see the quick more clearly, especially on dark nails. Lick mats smeared with peanut butter or plain yogurt can keep your dog distracted in one spot. Setting up the right environment makes the whole experience smoother for both of you.
Trim a Little at a Time
When in doubt, cut less, not more. Trim small slices off the tip of the nail rather than going for one big cut. Stop and check after each snip, especially with dark nails. As you get closer to the quick, you'll start to see a small white dot in the center of the nail, which is your warning to stop trimming.
You'll also want to clip the tips of the nails at a 45-degree angle, following the natural curve. Avoid pinching the toe too hard, which can be uncomfortable. If you're using a grinder, hold it against the nail for just a couple of seconds at a time to avoid heat buildup. Frequent breaks help keep your dog relaxed and willing to cooperate.
Use Treats and Lots of Praise
Nail trims should be one of the most generously rewarded activities your dog experiences. Have high-value treats ready, like small pieces of cheese, chicken, or freeze-dried liver. Reward your dog after every single nail, not just at the end. Even calm behavior between snips should be praised enthusiastically.
You'll want to keep the energy positive and the sessions short. If your dog gets stressed, don't push through. Stop at one or two paws and come back later. Positive reinforcement helps your dog build confidence and turns nail trims into a manageable routine. Over time, many dogs even start to enjoy the treats and attention they get during nail time, even if they're not thrilled about the trim itself.
What to Do If You Cut the Quick
Even experienced groomers occasionally cut the quick, so don't panic if it happens. The most important thing is to stop the bleeding and stay calm. Apply styptic powder directly to the nail with a clean cotton swab or your fingertip. Hold gentle pressure for a few seconds until the bleeding stops. Cornstarch or flour can work as a backup if you're out of styptic.
You'll also want to comfort your dog and end the session on a positive note, even if you've only trimmed one or two nails. Offer extra treats, gentle praise, and a calm cuddle. Don't try to keep trimming after a quick incident, since it can damage trust.
When to Leave It to a Professional
If your dog is fearful, aggressive, or simply too strong for you to safely handle, there's no shame in leaving nail trims to a professional. Many groomers and vet clinics offer affordable nail trim services, often without an appointment.
You'll also want to consider professional help for dogs with extremely long quicks, deformed nails, or recent injuries. Some clinics even offer Fear Free certified groomers who specialize in anxious pets. Don't push through bad sessions at home if they're making things worse. Even if you eventually want to take over nail trims yourself, having a calm professional do the first few sessions can reset the experience for your dog.
Making Nail Trims Part of Your Routine
At-home nail trims don't have to be stressful for you or your dog. With the right tools, plenty of patience, and a steady supply of treats, you can turn a dreaded chore into a quick, calm part of your dog's grooming routine. Consistency matters more than perfection, so don't worry if your first few attempts are slow.
You'll likely find that the more often you trim, the easier it gets. Nails stay shorter, your dog learns what to expect, and the quick recedes naturally over time. Whether you tackle one paw a day or all four at once, regular trims keep your pup comfortable, healthy, and moving well. With practice, both of you will wonder why it ever felt so stressful.